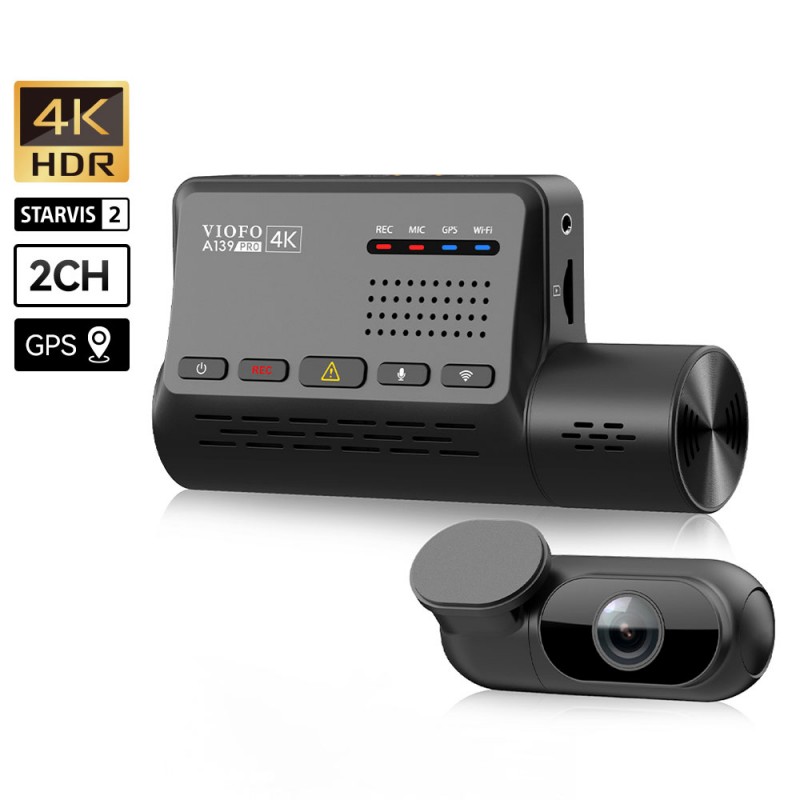
Porsche Macan Forum banner
201 - 220 of 265 Posts
Tom ans Svatekl2 - did you install the isolaton magnets ?
I have been driving with this setup for several weeks now and I have not see any interference issues as reported in this thread. Because of this I do not have use for isolation magnets or ferrite beads at this point in time. I continue to keep an eye out for any signs of interference or other gremlins as reported.

I also do not see a correlation with the radar detector on the same fuse, since I do not have it connected most of the time (I keep it unplugged and out of sight in my center console). I only use it for distance highway driving. Unless possibly the radar cord is acting in the same capacity as a isolation magnet, absorbing the signal...
 
I ordered a FitCamX for my 2020 Macan in December and due to how much of a PITA the install appeared to be, I didn't install it until today.

The overhead console was definitely a PITA to remove. Once I got that off, the rest of the plastic removal was pretty straight forward. The next problem I ran into was the forward camera wouldn't snap together on the back side of the housing. Where the cables exit the housing, there's not a big enough gap, so it prevents you from snapping the camera together. I filed away just a little bit of plastic in the upper right corner on the right half of the camera housing. After that, the camera snapped together without a problem.

Routing the cable for the rear camera was very easy.

I am going to mount the rear camera to the headliner, but I need to order a clip first. @bakedporkchop do you have a link to the eBay clip you purchased?

Overall, the camera install was much more difficult than the one in my 2023 Ram TRX, due to the difficulty of the overhead console. When I sell this car, the camera is going with it! :LOL:

Edit: I found the rear headliner clip on eBay.


Image
 
I ordered a FitCamX for my 2020 Macan in December and due to how much of a PITA the install appeared to be, I didn't install it until today.

The overhead console was definitely a PITA to remove. Once I got that off, the rest of the plastic removal was pretty straight forward. The next problem I ran into was the forward camera wouldn't snap together on the back side of the housing. Where the cables exit the housing, there's not a big enough gap, so it prevents you from snapping the camera together. I filed away just a little bit of plastic in the upper right corner on the right half of the camera housing. After that, the camera snapped together without a problem.

Routing the cable for the rear camera was very easy.

I am going to mount the rear camera to the headliner, but I need to order a clip first. @bakedporkchop do you have a link to the eBay clip you purchased?

Overall, the camera install was much more difficult than the one in my 2023 Ram TRX, due to the difficulty of the overhead console. When I sell this car, the camera is going with it! :LOL:

Edit: I found the rear headliner clip on eBay.


View attachment 282182
Do you have a picture of the rear camera installed with the ebay clip? Just curious...
 
I have my front dashcam wired using the passenger side fuse panel and door seals. I am interested in adding a rear view camera, but I am stumped as to how to route/fish the wiring. Could you explain further how the rear cable routing was done? TIA.
 
I have my front dashcam wired using the passenger side fuse panel and door seals. I am interested in adding a rear view camera, but I am stumped as to how to route/fish the wiring. Could you explain further how the rear cable routing was done? TIA.
Hi Will -

I reviewed multiple videos on how to install a rear camera, and most all show running down the door seals. I found the video linked below which showed an approach on how to fish the wire through the vehicle.

Go to around the 2:10 mark and you will see an incremental fishing of the wire with a fiberglass rod. I followed the same approach by pushing the rod from inside the headliner on the passenger door to the windshield. I attached the wire and pulled through. then I wen to the rear door and followed what the video shows. Then I finally fed the rod through to near where I wanted the wire to exit for the rear camera and tucked the excess away. Mounting on the headliner was much easier than trying to fish all the way to the liftgate.


I hope that helps!
 
I have my front dashcam wired using the passenger side fuse panel and door seals. I am interested in adding a rear view camera, but I am stumped as to how to route/fish the wiring. Could you explain further how the rear cable routing was done? TIA.
I think it looks good. I am all about not trying to overcomplicate things such as installing it on the tailgate when the headliner is a viable alternative.
This reply shows my FitcamX front / rear camera installation, including routing the wire into the disassembled tailgate.

Getting the wire from the front to the rear was simple / normal tucking and poke rods.

Getting the wire into the tailgate was normal trim disassembly / reassembly, w/ the only exception of getting the "large" camera connector through the flexible hinge rubber boot. That connector body was just a little too large, so I had to inch / stretch the boot over the connector body, then all was good.

IMO, placement of that camera as close to the glass will provide the best recorded optical image. My placement, using double sided tape, onto the CMSL housing gets the camera as close as possible to the glass.

It appears FitcamX has changed the rear camera body shape, from my earlier version, like a small rectangle, to the current / later version, like a small cylinder. IMO, I like the sleek shape of that earlier version. My earlier version included a very small U-shaped trunion mount, that I discarded, instead using double sided tape between the camera body and the CMSL housing.


Image
 
Hi Will -

I reviewed multiple videos on how to install a rear camera, and most all show running down the door seals. I found the video linked below which showed an approach on how to fish the wire through the vehicle.

Go to around the 2:10 mark and you will see an incremental fishing of the wire with a fiberglass rod. I followed the same approach by pushing the rod from inside the headliner on the passenger door to the windshield. I attached the wire and pulled through. then I wen to the rear door and followed what the video shows. Then I finally fed the rod through to near where I wanted the wire to exit for the rear camera and tucked the excess away. Mounting on the headliner was much easier than trying to fish all the way to the liftgate.


I hope that helps!
Excellent. Thanks! I like having a GPS capability so I think I'll just try an updated Viofo 2-camera setup.
 
Excellent. Thanks! I like having a GPS capability so I think I'll just try an updated Viofo 2-camera setup.
Other than the GPS (not included on the FitcamX) the Viofo 2-Camera system has "identical" specifications to that of the FitcamX.

The various Viofo camera systems have large / aftermarket appearance front cameras, some w/ distracting video displays.


Image
 
Other than the GPS (not included on the FitcamX) the Viofo 2-Camera system has "identical" specifications to that of the FitcamX.

The various Viofo camera systems have large / aftermarket appearance front cameras, some w/ distracting video displays.
The question is: What are you looking for?

In my case, I wanted a camera that "blended in" and was not really visible. I have an excellent Blackvue 2CH setup that has been used in 3 vehicles (so far) and is rock solid and extremely reliable (the only problems were 2 SD card failures - not a problem with the cameras)... but it is very visible by the design. I can say that I reviewed the footage from the camera about 5 times over 8+ years. In my case it is there for when something happens.

Regarding FitcamX, I found that it checked most of the boxes for me and the hidden nature in the front sealed the deal. I knowingly traded GPS functionality for the form factor of the camera. I am happy with my choice and I look forward to forgetting it is there until I need it.

Go with what works for you and good luck. Let us know how it works out.
 
I have my front dashcam wired using the passenger side fuse panel and door seals. I am interested in adding a rear view camera, but I am stumped as to how to route/fish the wiring. Could you explain further how the rear cable routing was done? TIA.
In case it helps you or someone else, you can use a cheap electrician's fish tape or just a long, thin, flexible rod (giggity) to fish the wire from the front to the rear. Its a straight shot above the headliner from the sun visor area to the side of the rear hatch. You won't have to futz around with door trim, getting around the pillars, or worry about side airbags.

Looking forward from the rear hatch, there are clear paths above the headliner about 4-5" outboard of the sunroof. I ran mine along the driver side, but it doesn't matter. If you poke the fish tape or flexible rod under the headliner and feed it to the front, it'll come out just above the sun visor lamp. Just pull the visor lamp out and you'll see the end of the fish tape / rod. Tape one end of the wire onto the rod and pull it back to the rear.

My cheap harbor freight fish tape broke, so I used plastic marker rod that was laying around. You just need something thin and about 4'-5' long like this:

 
YW, please share images and impressions of that system.
I finally installed my Viofo a229 yesterday and am pleased with the results. I was able to use the right fuse panel power set up from my old Viofo A119, so the front camera was not an issue. For the rear camera, I followed some other poster's guide (with helpful photos) and routed the cable from the camera to the windshield headline, crossing and tucking the wire at the seam of the A-pillar (no need to remove it), from the A-pillar under the weather gasket to the B-pillar. I crossed the B-pillar by pushing the wire into the seam; there was no need to fish it through the B-Pillar. I then continued routing the cable under the gasket of the rear passenger window until it meets the C-pillar, and then I pushed the cable into the seam of the C-pillar and then between the headliner and the small final rear glass. There is ample room for the cable except at some of the corners. I used the body trim tool that came with the camera, but I could have used any trim tool. There were times I had to sort of lever out the headliner a bit, so using a screwdriver or something similar would be a mistake. Finally, I routed the cable to the liftgate gasket, just lifting the gasket as I went. There is ample room between the headliner and body/frame to conceal the excess cable. I mounted the camera on the window with the supplied adhesive. I did not try to route the cable through the heavy rubber tubing and grommets as there was little to gain from it.

I have attached pictures of the install and routing. Hopefully they will help clarify my narrative. Thanks again to the other poster, whose methods and ideas I shamelessly used and copied
 

Attachments

201 - 220 of 265 Posts