

I previously posted in the ‘Upgrades to CDR+?’ thread that I greatly improved the base audio in my 2016 Macan S by installing a Memphis Audio 10” powered subwoofer. It is true that the system sounded a whole lot better with the addition of the sub, but after listening to the upgraded sound system for a while I decided it could be better. The bass was not as deep as I would have liked, and it sounded a little boomy, which is typical of a ported subwoofer box such as the Memphis Audio sub.
So I started reading and doing a lot of research and ultimately decided to replace the Memphis sub with a custom sub box and a separate sub amp. I had two main criteria for the subwoofer: I wanted to keep my spare tire and I wanted to place the sub in the area under the rear cargo lid, in the same location as a Bose sub in a Bose equipped Macan. My conclusion was the best installation I had seen so far was in the Macan belonging to @VirtualAndrew so I decided to plagiarize a little and somewhat mimic his installation.
I knew the sub box was going to be a lot of work, so before I started a permanent installation I went back to Crutchfield and came home with a JL Audio CS110LG-TW3 sub box, and a JL Audio JX500/1D mono amp. Because of the power requirement of the amp, I also bought a new sub installation wire kit with a #4 power wire. The wire kit I had bought for the Memphis Audio installation had a #8 power wire, which is too small for this amp. The sub speaker in the sub box is a JL Audio 10TW3-4, which is the same speaker that was used in the @VirtualAndrew installation. This particular speaker gets a lot of positive reviews. If the temporary setup sounded good I would cannibalize the parts from the sub box for my custom installation. After hooking up everything in the Macan it was WOW, this really sounds GOOD. It definitely was what I was looking for, so I proceeded with the custom installation.
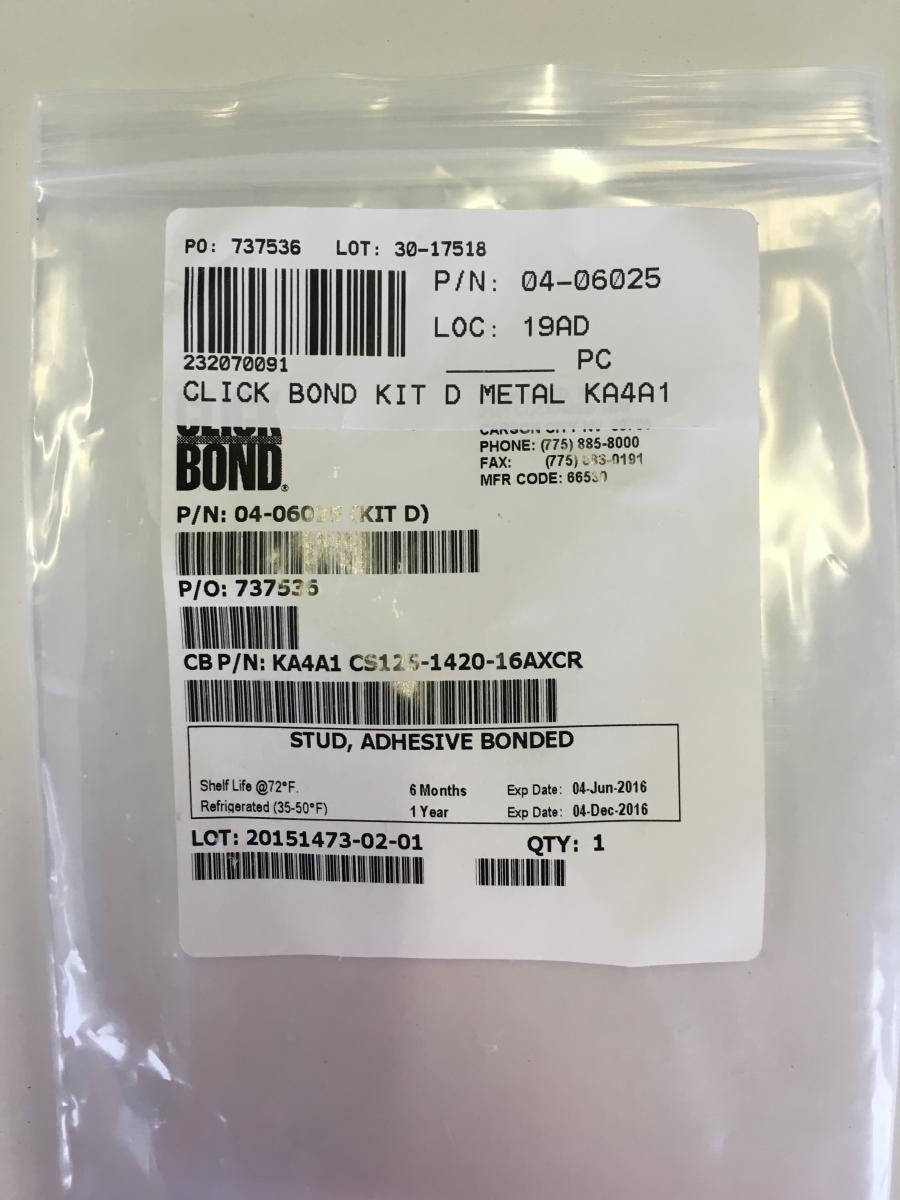
The first order of business was to permanently install the amp. I have an aversion to drilling holes in cars, so I decided to use Clickbond 10-24 studs for the attachment of the amp to the car. Clickbond has a clever installation system, their products are used in the aerospace industry, I had personally used them before, so I felt certain this would work well. A temporary plastic fixture holds the studs in place while the adhesive sets up. The studs need to attach to bare metal, so I marked the mounting locations, masked off the areas with tape, and sanded the paint off the attachment areas. I left some paint at the perimeter of the attachment so that the stud mount and adhesive cover the bare metal and a small area of paint at the perimeter on the stud base. This way there will not be a rust problem later on as the bare areas are totally covered. I then made up some mounting brackets with 0.100” aluminum and I installed the amp and new power cable.http://www.macanforum.com/forum/att...lectronics/130426d1462541703-custom-subwoofer-box-amp-installation-img_0246.jpg
http://www.macanforum.com/forum/att...lectronics/130434d1462541729-custom-subwoofer-box-amp-installation-img_0251.jpg
http://www.macanforum.com/forum/att...lectronics/130442d1462541737-custom-subwoofer-box-amp-installation-img_0249.jpg
http://www.macanforum.com/forum/att...lectronics/130450d1462541744-custom-subwoofer-box-amp-installation-img_0252.jpg
http://www.macanforum.com/forum/att...lectronics/130458d1462541782-custom-subwoofer-box-amp-installation-img_0255.jpg
http://www.macanforum.com/forum/att...lectronics/130466d1462541797-custom-subwoofer-box-amp-installation-img_0257.jpg
The next order of business was to make the sub box and then cover it in trunk carpet material. The box itself was a bit of a challenge. JL Audio specifies 0.5 cubic feet of sub box volume for the 10TW3-4 speaker. In order to do that, the sub would have to be close to the deck lid, and because of that I would not be able to use the speaker grill. That is not a major problem because the deck lid will keep debris off the speaker cone. I had to offset to speaker to the right a little so that the deck lid handle would not hit the speaker when the lid is closed. As it turned out the speaker is about ½” below the deck lid.
I used 1/2” MDF that I picked up at Home Depot. This is the same thickness material that was used in the JL Audio sub box. Over time a sub can destroy a sub box from pressure waves, so the box needed to be internally braced.
The floor of the sub box was cut with a 33.5* angle, so that it nestles in the angle in the car. Making the curve to match the spare tire was a bit of a challenge. To do that I made approximately 90 saw kerfs in a piece of MDF. I had marked the tire outline on the floor of the sub box with a sharpie. Using epoxy resin and a lot of clamps I carefully aligned the board with the sharpie line. After the resin set up I filled the saw kerfs with a slurry of epoxy resin and flox (flocked cotton), and squeeged it in the grooves. The flox makes the epoxy thick so that it won’t run out of the grooves, and once cured it is as hard as a rock. After that I covered the radius of the curve inside the box with two layers of bias cut medium weight glass cloth.http://www.macanforum.com/forum/att...lectronics/130498d1462541958-custom-subwoofer-box-amp-installation-img_0265.jpg
http://www.macanforum.com/forum/att...lectronics/130482d1462541920-custom-subwoofer-box-amp-installation-img_0269.jpg
http://www.macanforum.com/forum/att...lectronics/130490d1462541938-custom-subwoofer-box-amp-installation-img_0270.jpg
The next order of business was to install internal braces, and mark the location of the cutout for the speaker. The actual hole cut was done using a zip saw with a circle cutting jig. The hole came out fine, but it took a number of trial and error cuts with scrap material to adjust the jig to get the specified 9.625” hole diameter. After that I attached the lid with epoxy mixed with Cab-O-Sil. Cab-O-Sil is a thickening agent for epoxy resins.
After the lid was on I used a flush trim router bit to trim the edges, and after that I used a round-over bit to give the edges a nice radius. I then cut the hole for the speaker wire connector receptacle, and covered the box with trunk carpet material. Last but not least was filling the box with acoustic wadding and mounting the sub in the box
During construction of the box I used Titebond III wood glue until the first use of epoxy. After I made the piece to fit around the tire, epoxy adhesives were used for the rest of the build since wood glue will not adhere to epoxy. I also used an 18 gauge brad nailer to assemble the box.
The sub sounds tremendous, and it sounds as good as the JL Audio box. The bass is very deep and tight. The project was a lot of work, but I am glad that I did it. I dropped by the dealer and showed the installation to the SA. When he looked at it all I got was ‘Whoa! Dude!’ After he listened to it I got the same response.")
So I started reading and doing a lot of research and ultimately decided to replace the Memphis sub with a custom sub box and a separate sub amp. I had two main criteria for the subwoofer: I wanted to keep my spare tire and I wanted to place the sub in the area under the rear cargo lid, in the same location as a Bose sub in a Bose equipped Macan. My conclusion was the best installation I had seen so far was in the Macan belonging to @VirtualAndrew so I decided to plagiarize a little and somewhat mimic his installation.
I knew the sub box was going to be a lot of work, so before I started a permanent installation I went back to Crutchfield and came home with a JL Audio CS110LG-TW3 sub box, and a JL Audio JX500/1D mono amp. Because of the power requirement of the amp, I also bought a new sub installation wire kit with a #4 power wire. The wire kit I had bought for the Memphis Audio installation had a #8 power wire, which is too small for this amp. The sub speaker in the sub box is a JL Audio 10TW3-4, which is the same speaker that was used in the @VirtualAndrew installation. This particular speaker gets a lot of positive reviews. If the temporary setup sounded good I would cannibalize the parts from the sub box for my custom installation. After hooking up everything in the Macan it was WOW, this really sounds GOOD. It definitely was what I was looking for, so I proceeded with the custom installation.
The first order of business was to permanently install the amp. I have an aversion to drilling holes in cars, so I decided to use Clickbond 10-24 studs for the attachment of the amp to the car. Clickbond has a clever installation system, their products are used in the aerospace industry, I had personally used them before, so I felt certain this would work well. A temporary plastic fixture holds the studs in place while the adhesive sets up. The studs need to attach to bare metal, so I marked the mounting locations, masked off the areas with tape, and sanded the paint off the attachment areas. I left some paint at the perimeter of the attachment so that the stud mount and adhesive cover the bare metal and a small area of paint at the perimeter on the stud base. This way there will not be a rust problem later on as the bare areas are totally covered. I then made up some mounting brackets with 0.100” aluminum and I installed the amp and new power cable.http://www.macanforum.com/forum/att...lectronics/130426d1462541703-custom-subwoofer-box-amp-installation-img_0246.jpg
http://www.macanforum.com/forum/att...lectronics/130434d1462541729-custom-subwoofer-box-amp-installation-img_0251.jpg
http://www.macanforum.com/forum/att...lectronics/130442d1462541737-custom-subwoofer-box-amp-installation-img_0249.jpg
http://www.macanforum.com/forum/att...lectronics/130450d1462541744-custom-subwoofer-box-amp-installation-img_0252.jpg
http://www.macanforum.com/forum/att...lectronics/130458d1462541782-custom-subwoofer-box-amp-installation-img_0255.jpg
http://www.macanforum.com/forum/att...lectronics/130466d1462541797-custom-subwoofer-box-amp-installation-img_0257.jpg
The next order of business was to make the sub box and then cover it in trunk carpet material. The box itself was a bit of a challenge. JL Audio specifies 0.5 cubic feet of sub box volume for the 10TW3-4 speaker. In order to do that, the sub would have to be close to the deck lid, and because of that I would not be able to use the speaker grill. That is not a major problem because the deck lid will keep debris off the speaker cone. I had to offset to speaker to the right a little so that the deck lid handle would not hit the speaker when the lid is closed. As it turned out the speaker is about ½” below the deck lid.
I used 1/2” MDF that I picked up at Home Depot. This is the same thickness material that was used in the JL Audio sub box. Over time a sub can destroy a sub box from pressure waves, so the box needed to be internally braced.
The floor of the sub box was cut with a 33.5* angle, so that it nestles in the angle in the car. Making the curve to match the spare tire was a bit of a challenge. To do that I made approximately 90 saw kerfs in a piece of MDF. I had marked the tire outline on the floor of the sub box with a sharpie. Using epoxy resin and a lot of clamps I carefully aligned the board with the sharpie line. After the resin set up I filled the saw kerfs with a slurry of epoxy resin and flox (flocked cotton), and squeeged it in the grooves. The flox makes the epoxy thick so that it won’t run out of the grooves, and once cured it is as hard as a rock. After that I covered the radius of the curve inside the box with two layers of bias cut medium weight glass cloth.http://www.macanforum.com/forum/att...lectronics/130498d1462541958-custom-subwoofer-box-amp-installation-img_0265.jpg
http://www.macanforum.com/forum/att...lectronics/130482d1462541920-custom-subwoofer-box-amp-installation-img_0269.jpg
http://www.macanforum.com/forum/att...lectronics/130490d1462541938-custom-subwoofer-box-amp-installation-img_0270.jpg
The next order of business was to install internal braces, and mark the location of the cutout for the speaker. The actual hole cut was done using a zip saw with a circle cutting jig. The hole came out fine, but it took a number of trial and error cuts with scrap material to adjust the jig to get the specified 9.625” hole diameter. After that I attached the lid with epoxy mixed with Cab-O-Sil. Cab-O-Sil is a thickening agent for epoxy resins.
After the lid was on I used a flush trim router bit to trim the edges, and after that I used a round-over bit to give the edges a nice radius. I then cut the hole for the speaker wire connector receptacle, and covered the box with trunk carpet material. Last but not least was filling the box with acoustic wadding and mounting the sub in the box
During construction of the box I used Titebond III wood glue until the first use of epoxy. After I made the piece to fit around the tire, epoxy adhesives were used for the rest of the build since wood glue will not adhere to epoxy. I also used an 18 gauge brad nailer to assemble the box.
The sub sounds tremendous, and it sounds as good as the JL Audio box. The bass is very deep and tight. The project was a lot of work, but I am glad that I did it. I dropped by the dealer and showed the installation to the SA. When he looked at it all I got was ‘Whoa! Dude!’ After he listened to it I got the same response.


